Why People Love No‑Code Website Builders — and How WebsiteChat Fits In
Guide for embedding WebsiteChat in Webflow, Wix, Word Press, Framer, Squarespace, Bubble, Shopify, Typedream

In recent years, no‑code website builders like Webflow, Bubble, Wix, Squarespace, etc. have taken the online world by storm. Founders, solopreneurs, small business owners, and even designers and marketers are increasingly choosing these platforms because they offer powerful visual design tools—without the headache of writing custom code.
Speed to launch: You can go from idea to live site in just hours or days.
Visual design: Drag‑and‑drop interfaces give you full control of layout, styling, typography, responsive design.
Lower cost: No developer required. Many platforms have free or affordable tiers.
Built‑in infrastructure: Hosting, SSL, performance, backups—all taken care of for you.
Extensible with plugins or custom code snippets: When you need advanced features, you can usually add small bits of code or integrations.

The best part is you can also enhance these sites with advanced features without writing code. WebsiteChat is a no-code, AI-powered chat widget that you can embed on any site. A live chat on your site can greatly boost customer engagement – answering questions instantly, providing support 24/7, and capturing leads – all without needing a developer or an in-house support team. In this guide, we’ll show you how to integrate WebsiteChat into some popular no-code platforms. We'll walk through each platform, highlight any caveats (especially if a paid plan is required to embed custom code), and outline tips and best practices for integration. Let’s get started!
Why Embed WebsiteChat on Your No‑Code Site?
🔧 Seamless support with no developer
If you’re using a no‑code builder, you probably want to remain code‑free. WebsiteChat respects that: you log in, generate your widget script, and paste it into your site’s custom code or header/footer area. No coding skills required, so your launch stays fast and lean.
💬 Turn browsers into conversations
Instead of passive visitors, you can engage site visitors in real time—or with AI—capture leads and answer FAQs instantly
🚀 Better conversions, less friction
Chat widgets increase engagement, reduce bounce rates, and often drive more conversions than static contact forms. A conversational interface feels more intuitive.
🤝 Brand trust & personalization
Chat adds human touch, shows you’re available, and lets you tailor greetings, avatar and more to stay on brand.
Best Practices for Integration & Usage
To ensure smooth integration and get the most out of WebsiteChat on your no-code site, keep this quick checklist in mind:
✅ Set the “Website to be integrated” field
Ensure that this field is set with the URL of the website to which you will be adding the widget. You can find this in WebsiteChat’s Configure Assistant section.
✅ Try Quick Embed with HTML Code Block (If Supported)
Some platforms let you paste the WebsiteChat script directly into an HTML or embed block—this works on builders like Wix, Bubble, Framer, and Webflow. It’s a quick workaround, especially if you don’t have access to global code settings. If your builder doesn’t support this, no worries—just scroll down to the next section for detailed alternative steps.
✅ Test in staging before going live
Always test your chat in preview or staging mode to ensure script loads correctly. Some platforms cache heavily, so republish and clear caches as needed.
✅ Position wisely
Place chat widget in footer or just before </body> if possible. That ensures it loads after page content and doesn’t delay page render. Select a widget position that doesn’t interfere with your website’s content. The bottom-right corner is generally the most preferred placement, and you can easily set this within the WebsiteChat app
✅ Customize for context
Personalize the initial greeting with context-specific messages like 'Hi! Need help turning your idea into a product?' or 'Welcome to our landing page!' to boost engagement. Use an on-brand avatar and theme, and ensure the font aligns with your brand—either by selecting a custom font or matching your website’s existing font style
✅ Target the right pages
We recommend keeping WebsiteChat site‑wide so you never miss a visitor query. If you want a more focused approach, you can place it on specific pages such as landing pages or sign‑up funnels. Most website builders allow you to control this. Show the widget only on specific pages (pricing, pricing vs features, contact), or only on mobile vs desktop (WebsiteChat is mobile responsive!). If you want guidance on this, reach out to us—we’ll set it up for you
If you’re looking for a step-by-step guide on how to create and configure your WebsiteChat assistant, check out our last blog post:
How to Add an AI Chatbot to Your Website in 2025 - With WebsiteChat

Chatbots have come a long way by 2025. The flash arrival of ChatGPT at the end of 2022 sparked an explosion of AI advancements, making modern chatbots far more capable and easier to implement. Today, they’re everywhere – more than two-thirds of consumers have interacted with a chatbot in the last year alone. Businesses are embracing AI chat assistants n…
How to Install WebsiteChat on Your No‑Code Platform
Note: Website builder platforms often update their dashboards, so the exact steps or button names may look slightly different from what you see in our screenshots/videos. Don’t worry—just look for the Custom Code, Embed, or Header/Footer Scripts section.
If you can’t locate it or the instructions feel unclear, reach out to us—we’ll guide you or set up WebsiteChat for free on a quick call.
Also, some platforms require a paid plan to add custom scripts. In our videos, we simply show where the snippet needs to be added—you can complete the step if your plan supports it.
🔹 Framer:
Open your WebsiteChat dashboard, copy the script snippet
Open Project Settings: In Framer, open your website project and click the Settings (gear icon).
Locate Custom Code: Scroll in the project settings to find the Custom Code section.
Add the Code: Paste your WebsiteChat script snippet into the custom code field (use the Footer or Body section if available for scripts).
Publish and Test: Publish your site. Then visit your live site URL and verify that the chat assistant icon appears.
Framer will now include the WebsiteChat script on your site. Note that the chat widget may not show up in Framer’s preview mode – you’ll want to check the actual published site. If it’s not appearing, ensure you pasted the code correctly and republished the site after adding it. (This option is available only for Paid plans)
🔹 Webflow
Log into your WebsiteChat dashboard, copy the script snippet.
In Webflow Designer, go to Settings → Custom Code → Head Tag / Footer Tag.
Paste the code snippet inside the <head> or immediately before </body>
Publish your site.
Visit your live site to confirm the chat widget appears.
Note: Webflow requires a paid Site Plan (Starter and above) to publish sites and support custom code.
🔹 Squarespace
Copy your chat script.
Go to Home → Settings → Advanced → Code Injection.
Paste the script in the Header or Footer section.
Save and republish.
Note: Code Injection is available on Business and Commerce plans or higher - Squarespace personal tier does not support this.
🔹 Typedream
Go to your Typedream website editor
Go to Settings → Code Injection
Paste your WebsiteChat code snippet in the body section
Save and publish.
Note: Custom Code requires a Typedream Pro plan.
🔹 WordPress
Install WPCode plugin from Plugins marketplace
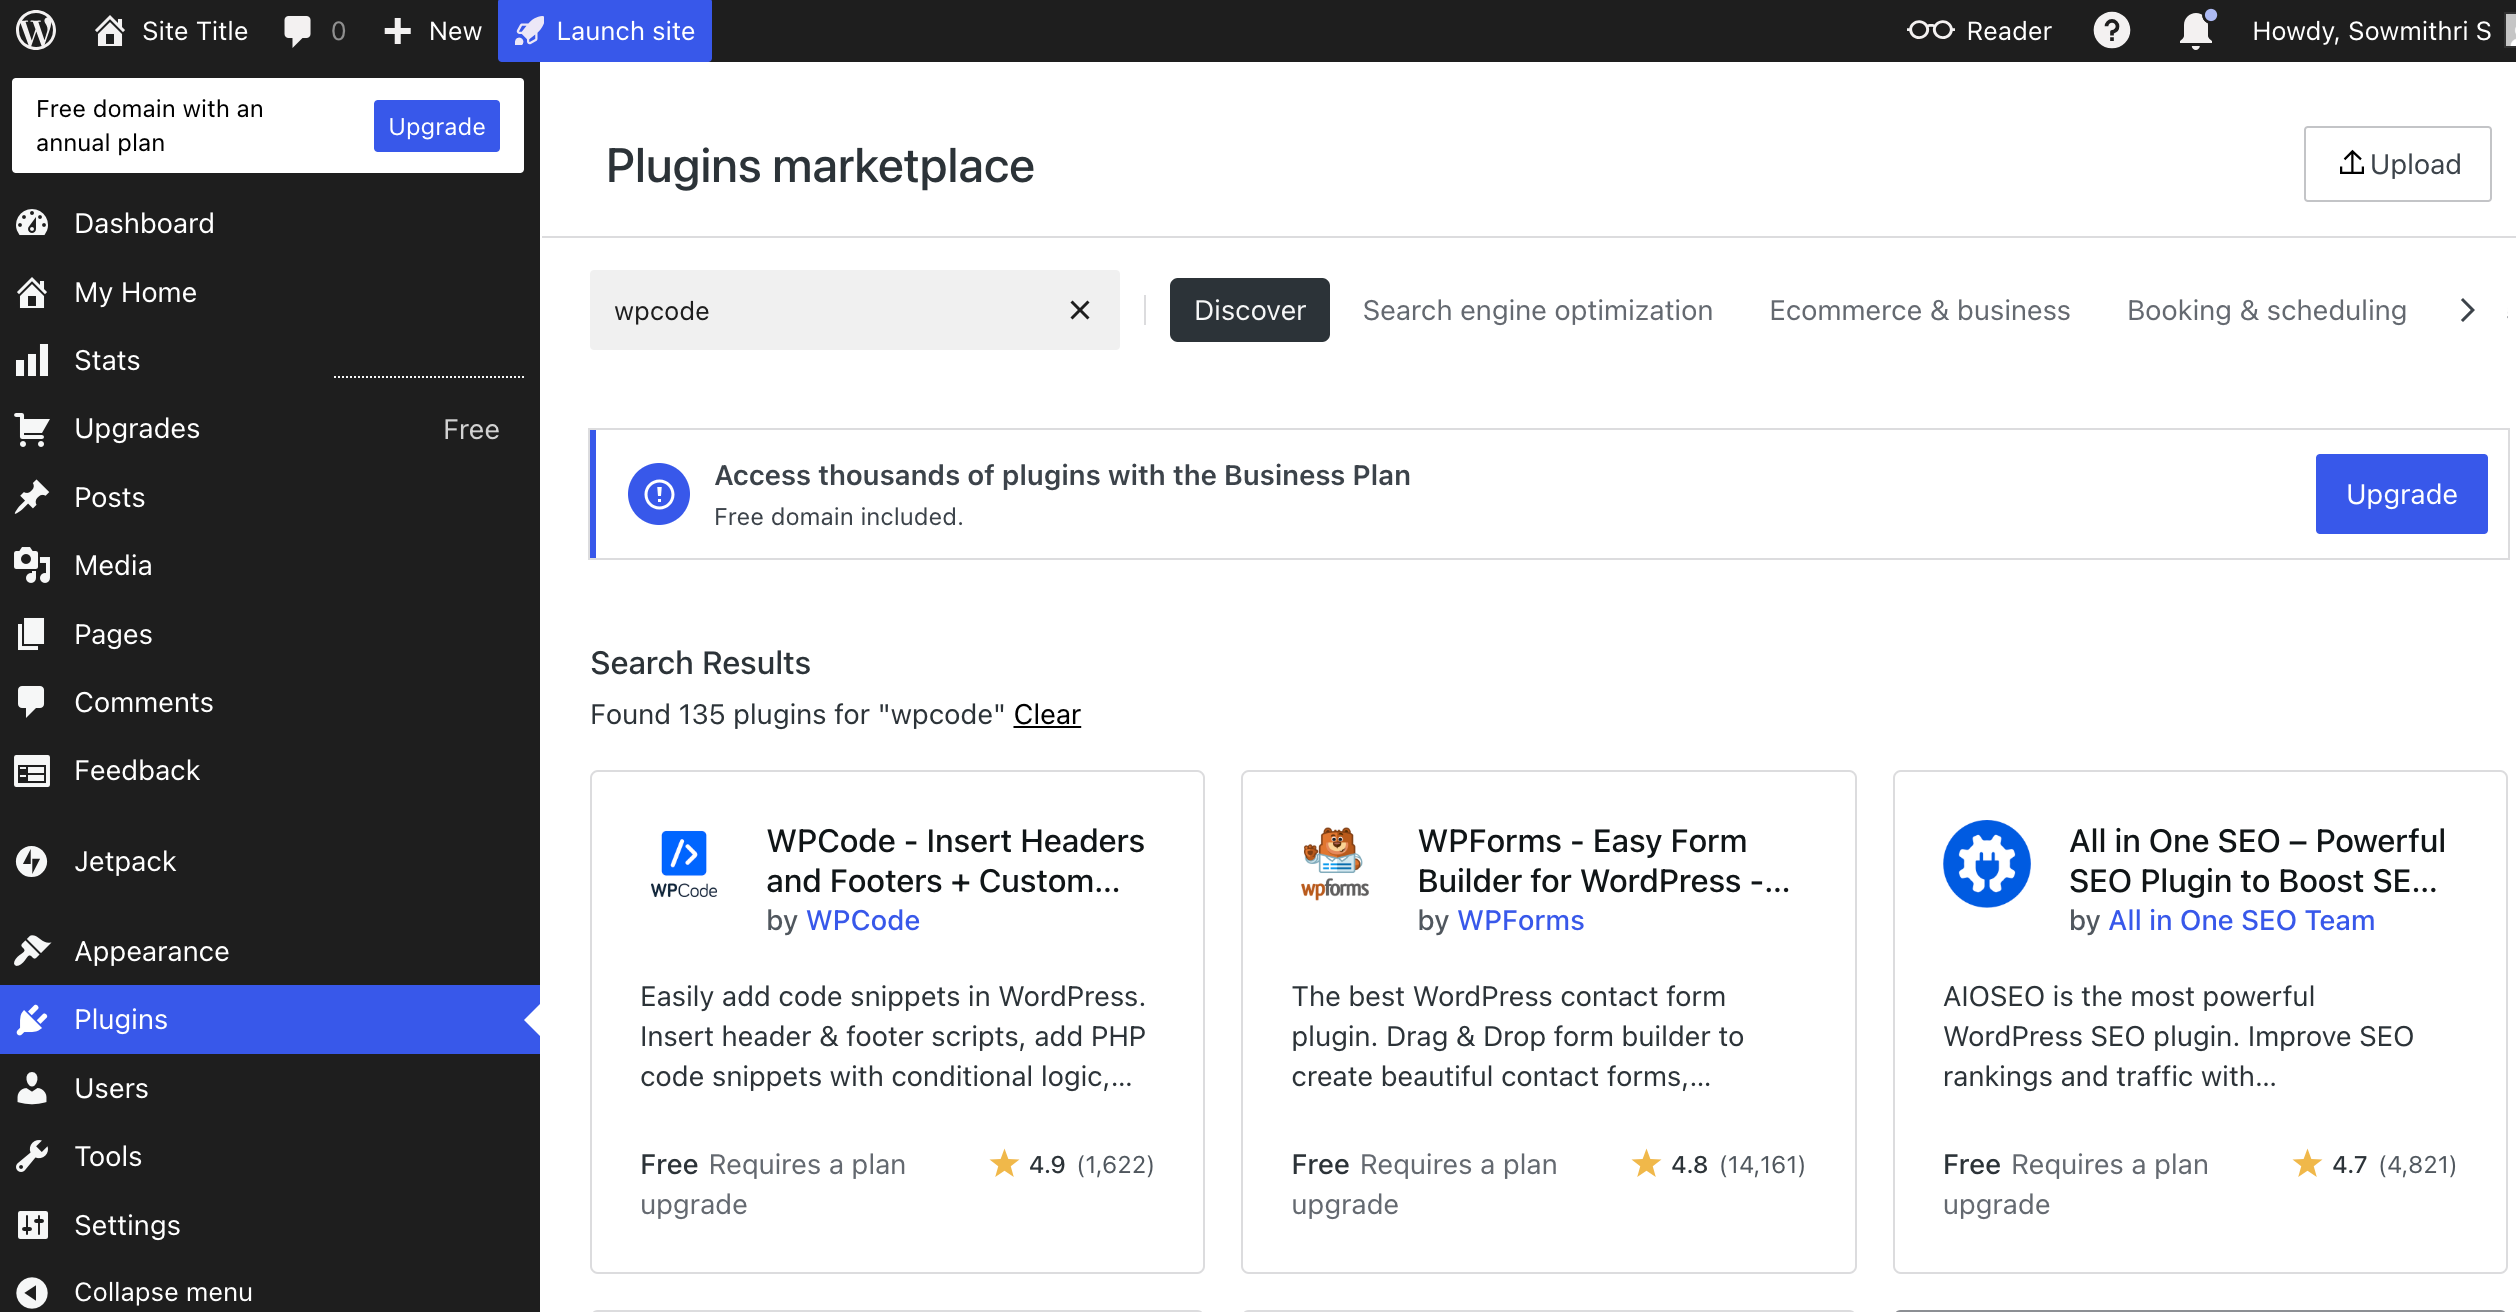
Then follow this guide to add your WebsiteChat code snippet to your WordPress site- whether you want it to appear on all pages or just a specific page.
Note: A paid WordPress plan is required to install and use plugins for adding custom code.
🔹 Shopify
Go to online store and open you site
Click Edit Code
Open the theme.liquid file (under “Layout”)
To add WebsiteChat to specific pages only, you’ll need to edit the code of those individual page templates (like page.contact.liquid) and paste the script just before the </body> tag of that page’s layout
Scroll down and paste your WebsiteChat script just before the </body> tag
Click Save
Test your app in preview and live modes to ensure the widget loads
🔹 Bubble
From WebsiteChat, copy your script snippet.
In your Bubble editor, go to Settings → SEO / meta tags → Script in body.
Paste the snippet there.
Save changes and re‑deploy.
Test your app in preview and live modes to ensure the widget loads.
Note: Bubble free plan allows adding header code, but you must deploy to a paid plan domain (custom domain) for public use.
🔹 Wix
Copy the WebsiteChat script snippet.
Go to Wix editor → click on Site in the header → select My Dashboard.
In the Dashboard, click Settings → Search for Custom Code
Paste the WebsiteChat script into the head/footer section.
Publish your site to make chatbot live.
Note: Wix free plan may limit custom code features. Custom code snippet support typically requires a Premium (paid) plan.
What next after integration?
✅ Track performance
After integration, user WebsiteChat Dashboard and Chat logs to identify busiest periods, engagement trends and what users are asking the most! Use these metrics to plan product updates / campaigns or even update your site with relevant information
✅ Privacy and compliance
Be transparent: add a brief note in the privacy policy or footer (“Chat logs may be stored for support” etc). If GDPR or other regulations apply, ensure you have consent modals or cookie banners accordingly.
Need Help? Chat with Us or Book a Demo
If at any stage you hit a snag, feel free to write to us at support@websitechat.in with questions any time. Or simply ask for demo call with our team—we’ll walk you step by step through setup, customization, or troubleshooting!
Happy chatting!